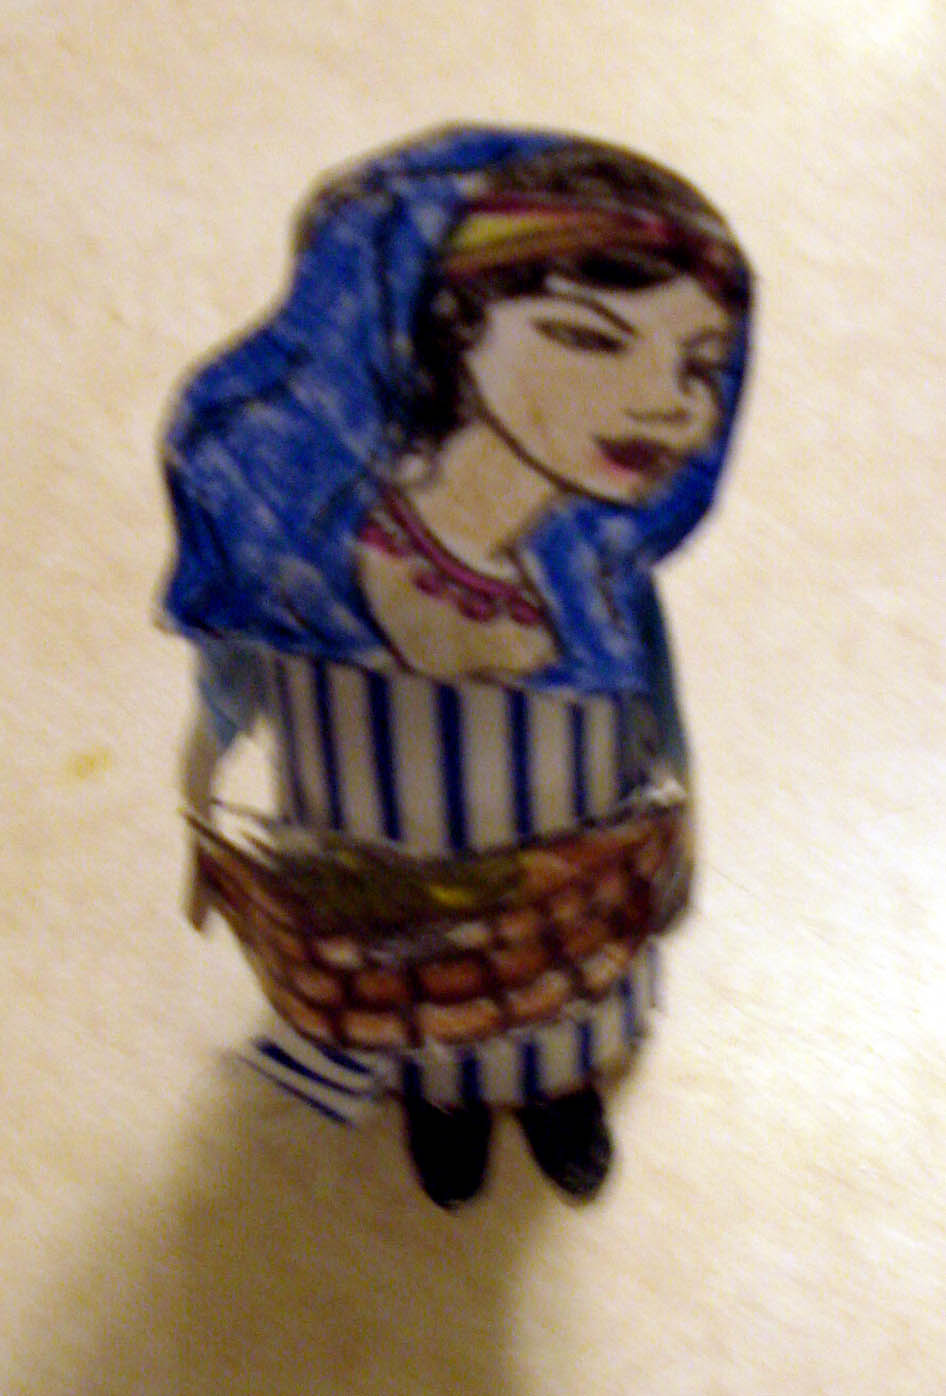
"The Story of Ruth" Craft Project

WHAT YOU NEED
plus
STEP-BY-STEP INSTRUCTIONS
1. Print pattern. 2. The large rectangle on the pattern is for Ruth's dress. Use it to cut cloth or construction paper. Wrap the paper or cloth around the toilet paper roll and glue or tape into place. If desired, color the large rectangle and use it to cover the toilet paper roll. 3. Use the long thin rectangle at the bottom of the pattern to measure and cut ribbon, string, or cloth for Ruth's belt. 4. Color Ruth's face, arms, basket and shoes and cut them from the pattern. 5. Tape or glue Ruth's face and arms into place on the covered toilet paper roll. 6. Tie belt. Use a dab of glue or small piece of tape to hold belt in place. 7. Cut out shoes and fold on horizontal line. Tape to inside of toilet paper roll (dotted line). 8. Tape basket into Ruth's hands.
Note: If you are using the cardboard roll from a double roll or larger toilet paper, the cloth and belt patterns will be too small. |
[Back] |


